

Birthday Cake Ideas for Little Ones | Easy Homemade Cakes
I've always loved making birthday cakes.
I'm definitely not a professional cake decorator, but since my boys were little, I've made their birthday cakes most years. Usually the theme was based on whatever they happened to be completely obsessed with at the time!
Some have been surprisingly easy. Others have taken hours. And a couple have had me wondering why I didn't just order a cake like a normal person.
I've also made cakes for baptisms and for friends' children along the way, so I recently went back through all my old photos and thought I'd share some of my favourites.
If you're looking for first birthday cake ideas, toddler birthday cakes or easy homemade birthday cake inspiration, hopefully you'll find something here you can try.
Spot the Dog First Birthday Cake 🐶
 For my son David's first birthday cake, I decided to make Spot the Dog.
The cake itself was fairly simple, using a number one birthday cake tin, adding white icing with rows of blue, yellow, orange and green Smarties around the bottom, but Spot was definitely more ambitious.
I made Spot from yellow fondant, and there was a LOT of shaping and reshaping before Spot finally started to resemble Spot the Dog.
I loved the finished cake, but if you're looking for a really easy first birthday cake, I'd probably choose one of the next few instead, and if you are tight on time, maybe buy a Spot the Dog figurine instead of making Spot out of fondant.

A Cute and Simple Teddy Bear Birthday Cake 🐻
 This was one of my easier cakes, and it's a great option if you want something cute without needing lots of cake decorating skills.
I baked one large round cake for the bear's face and a smaller square cake. I then used a bowl as a guide to cut a smaller circle from the square cake for his nose, and two little cupcakes became the ears.
I sliced the tops off the cakes first, so they were flat, then arranged everything together and covered it in chocolate icing.
The decorating was simple too; lots of chocolate malteasers, marshmallows, and a few little pink Smarties to make the bears face.
It's amazing what you can make from a few basic cake shapes and supermarket lollies!
DIY Digger Cake for a 2nd Birthday 🚜

This was my son Thomas' 2nd birthday cake, and honestly, it's one of those cakes that looks much more impressive than it actually is to make.
I started with one round cake covered in chocolate icing, then stood KitKats all the way around the outside.
One important thing, don't forget the ribbon around the KitKats! Apart from looking cute, it helps hold everything in place, especially if it's hot and humid weather.
For the "dirt" on top, I broke Crunchie bars into rough pieces and scattered them everywhere. Then I added some little diggers I'd bought from Kmart, and added one with Crunchie loaded into its bucket. You can find the $5 - 5 Pack Digger set here.
Another great thing about this cake is that the icing doesn't need to be perfectly smooth. The sides are hidden by the KitKats and the entire top is covered in broken-up Crunchie.
Perfect for a digger obsessed two year old!
Homemade Sailboat Cake for a 2nd Birthday ⛵
 This was another relatively easy one to make, which I made for my nephew's 2nd birthday, even though it looked quite impressive once everything was put together.
I baked two cakes, one large rectangle and one large square.
The rectangle became the bottom of the boat, then I cut the square cake into the two triangular sail shapes.
Once I'd arranged the three pieces on the board, I covered the boat in chocolate icing and the sails in white icing, then used colourful chocolates to decorate them. A tip for making icing white is to add white gel colour so it's more white than cream.
There's nothing particularly complicated about the construction. It's really just three cake shapes put together, but once they're iced and decorated, it suddenly looks like a sailboat.
A Little Trick for Smoother Icing
Getting icing perfectly smooth can be tricky, but this is one trick I've used over the years.
I do a first layer of icing as neatly as I can, then put the cake into the fridge until the icing is cold and firm.
I then add a second layer of icing; this way the cake crumbs don't get caught in the icing.
To get that layer smoother, fill a mug with boiling water and dip your icing knife into it for a few seconds. Quickly wipe the knife completely dry with a paper towel so it's warm but not wet, then gently and lightly run it over the icing.
The warmth helps smooth out those little lines and bumps. Just keep warming and drying the knife as you work your way around the cake. If you are short on time to get the icing so smooth, you could always cover sails fully with Smarties.
A Simple Fireman Sam Birthday Cake 🚒
 If the thought of making characters from fondant fills you with dread, this is one of the easiest shortcuts I've found.
For Thomas's Fireman Sam cake, I made a simple round cake and ordered a personalised edible Fireman Sam topper from Edible Cake Toppers Australia.
Once you put the topper onto the iced cake, suddenly you have a character cake without having to attempt to make Fireman Sam yourself!
I added red, yellow and blue Smarties around the bottom to match the colours and bought a pack of little fire engines from Kmart to place around the cake. I've searched to try and find these at Kmart again, but unfortunately it appears they don't sell them anymore; I did find a similar set at Discount Party Supplies.
I've used toys on cakes quite a few times over the years. They're easy, look great, and the birthday child gets to play with them afterwards.
The Train Cake That Was Almost the End of Me 🚂
 And then there was this cake.
This one was almost the end of me.
I had a great idea to create a mountain with a train travelling around it. Everything was going fine until I started cutting the cake into the mountain shape.
It fell apart.
And I don't mean a little crack that could be hidden with some icing. The whole thing basically started falling apart.
What followed was some fairly desperate cake reconstruction involving huge handfuls of drinking straws pushed through the cake to hold it back together.
There were straws everywhere, icing everywhere and quite a lot of wondering why I'd ever thought making a mountain out of cake was a good idea.
Somehow, it worked.
Once it was all covered and decorated, you'd never have known what was actually holding that mountain together underneath.
I can laugh about this one now. At the time, not so much. 😂
A Homemade Paw Patrol Birthday Cake 🐾
 Thankfully, this Paw Patrol cake was much easier.
I covered a chocolate cake in chocolate icing and sprinkles, added little marshmallow paw prints, and used Paw Patrol toys on top.
That's it.
Using toys has become one of my favourite birthday cake cheats. You don't have to attempt complicated fondant characters, and they can become part of the birthday present afterwards.
Sometimes simple really is best.
The Paw Patrol Cake & My Battle With Red Icing
 My other Paw Patrol cake was a little more ambitious, but the cake itself wasn't actually my biggest problem.
It was the red icing.
No matter how much red food colouring I added, it stayed pink.
More red colouring.
Still pink.
Eventually I gave up, made another batch and Googled how on earth you're supposed to make icing properly red.
That's when I found a trick that actually worked.
Once you've added your red colouring, take a few spoonfuls of the icing and put them into a microwave-safe bowl. Microwave it very gently in short, five-second bursts until it softens and the colour becomes much deeper.
Then mix that small amount back through the rest of the icing.
Finally... RED!
Just don't microwave the entire bowl. You only need to warm a small amount before mixing it back through.
I've remembered that trick ever since.
Teenage Mutant Ninja Turtles Birthday Cake
 This Ninja Turtles cake was definitely an easy cake to make.
Rather than trying to make the actual Ninja Turtles from fondant, I used their different coloured masks around the cake made from fondant and added little Ninja Turtle figures.
I think that's something I got better at after making cakes for a few years, knowing which bits I could make myself and which bits I should just buy!
You really don't need to make every tiny detail from scratch.
Super Mario Birthday Cake 🍄
 Super Mario has made more than one appearance at birthday time in our house.
For this one, I kept the actual cake fairly simple with chocolate icing and bright blue piping, then used Mario characters and decorations to create the theme. Plus a cute custom Super Mario cake topper from Etsy, you can find similar cake toppers available here.
I decorated around the cake too, which is another easy way to make a homemade birthday cake look more impressive.
The cake doesn't have to do all the work!
The Kirby Cake – One of My Absolute Favourites ⭐
 I loved making this one.
It took forever, but unlike some of the cakes that have had me tearing my hair out, I actually really enjoyed all the fiddly bits.
Making the little fondant pieces was almost like playing with Play-Doh, modelling everything into cute little shapes and slowly watching this colourful Kirby world come together.
I did cheat with the Kirbys themselves, though. I bought those from Target!
There was no way I was attempting to make those as well.
It took a very long time, but it's still one of the cakes I look back on and think, I really loved making that one.
A Magical Rainbow Unicorn Birthday Cake 🦄🌈
 Not all the cakes I've made have been for my boys.
I made this unicorn cake for a friend's daughter, and it was such a lovely change from all the trains, Mario, and Ninja Turtles!
I kept the outside mostly white, then added the unicorn horn, which we purchased from Etsy, sleepy eyes, and lots of pink, purple, and turquoise icing for the mane.
But the best bit was inside.
 When we cut into it, there were all these bright rainbow layers hiding underneath.
I loved that you couldn't tell from the outside what was going to be inside. It made cutting the first slice so much more fun.
This is still one of the prettiest cakes I've made.
A Few Things I've Learnt From Making Birthday Cakes
I'm definitely no cake expert, but after making all of these I've picked up a few tricks.
Use toys when you can. They're brilliant for character cakes and save you trying to make everything from fondant.
Don't feel guilty about buying some of the decorations. An edible topper or a cake topper from Etsy can turn a very basic cake into something your little one will love.
And work with the theme. Broken Crunchies make excellent dirt. Sprinkles hide all sorts of things. KitKats can cover icing you'd rather nobody saw.
Most importantly, don't worry about it being perfect.
First Birthdays, Cake & Little Messes 🎂
There is one thing babies and toddlers are particularly good at when it comes to birthday cake: making a mess!
Those first birthdays are such a special milestone, even if your little one is more interested in squishing the cake between their fingers than actually eating it.
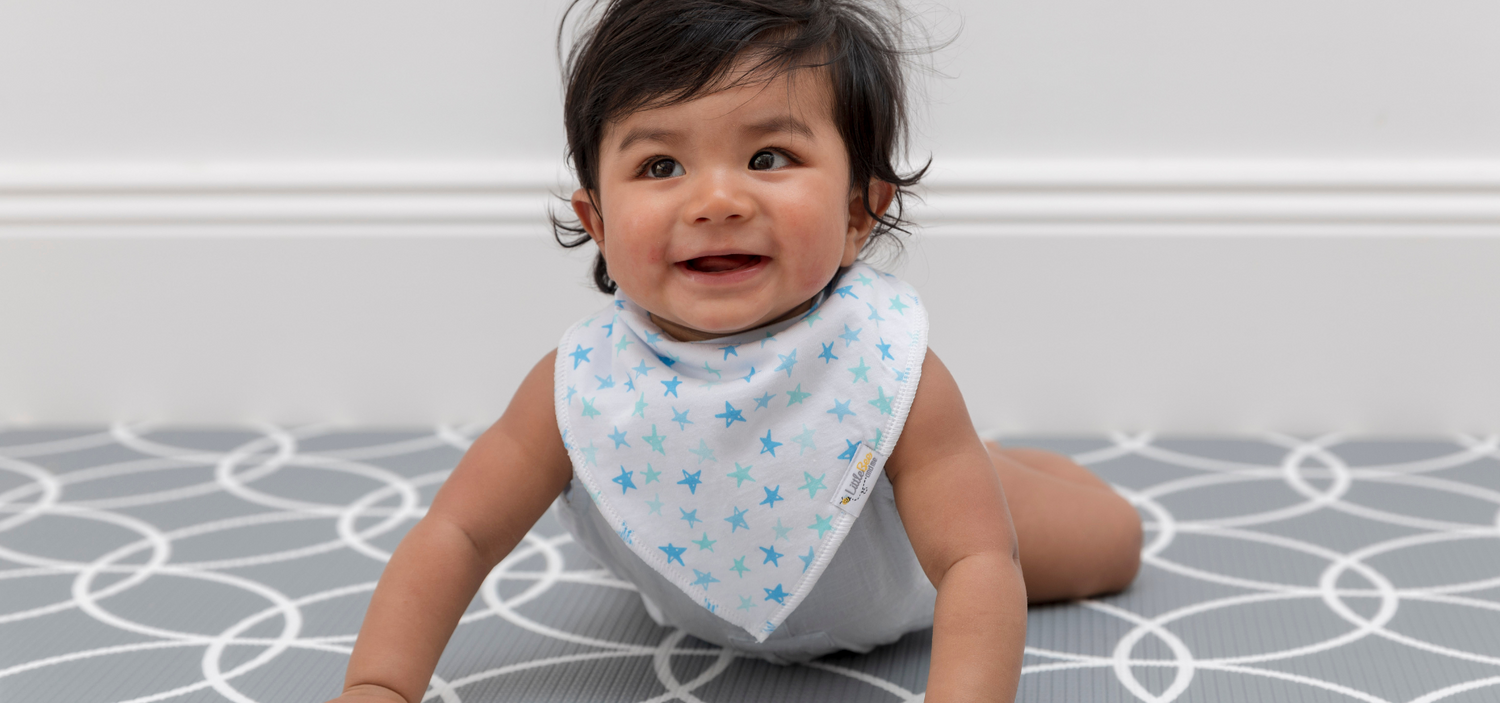
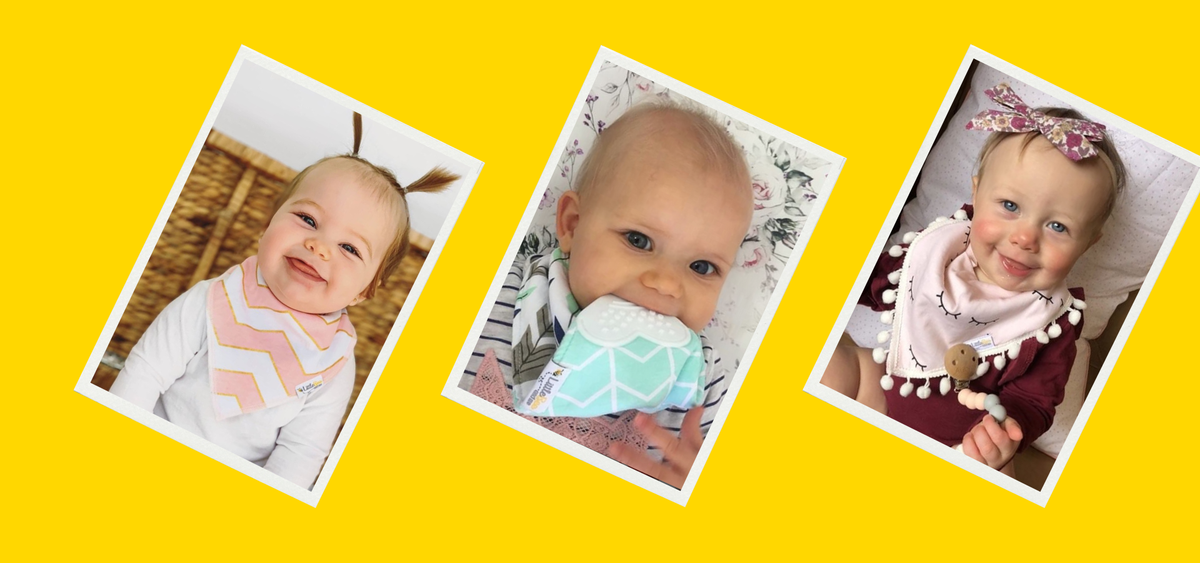
And if you're planning a first birthday or cake smash, a cute bib can be part of their birthday outfit too, while hopefully catching at least some of the mess.
 Our Little Bee & Me bandana bibs are made for all those wonderfully messy little years, from dribbly teething days to first birthdays and everything in between.
The Bit I Remember Most
Looking at all these photos now, I don't really notice if the icing wasn't perfectly smooth or something was slightly wonky.
I remember who I was making the cake for.
I remember what the boys loved at that age, how excited they were when they saw their cake and everyone gathering around to sing Happy Birthday.
So if you're thinking about making your little one's birthday cake yourself, give it a go.
It doesn't have to be perfect.
And if it all starts falling apart, apparently you just need a lot of icing...and possibly a packet of straws.
Lauren x